GUI usage
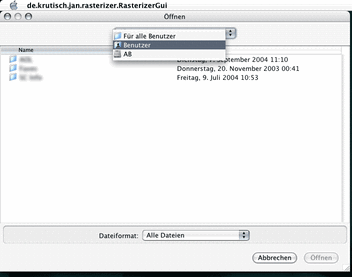
In a windows or mac environment with a standard java installation, you can simply doubleclick the jar file (rasterizergui.jar) and the program will start up. You will probably see something similar to the following picture:

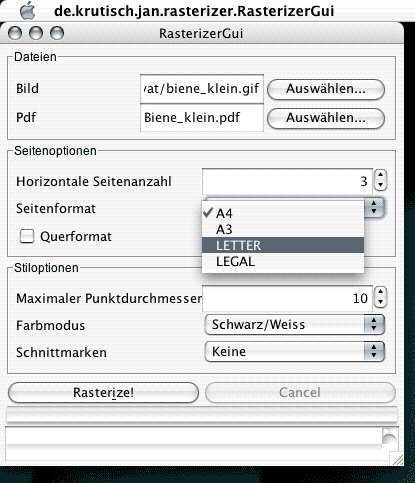
As the first step, you have to select an image to rasterize (sounds reasonable, doesit?). Enter a path to an image in the textbox, or press “Select…” to open a file open dialog.
Then you’ll have to specify a filename for the resulting Acrobat pdf file. Again, you can enter a valid filename in the textfield, or use a file save dialog by pressing “Select…”.
Rasterizer can produce many different forms of rasterisations. There are no general rules on how to produce good looking raster images, so please take your time to experiment with all the options.
The “Number of horiz pages” specifies how many pages the image will be stretched to, horizontally. The vertical number of pages will be calculated accordingly.
With “Page Format” you can set the page size. At the moment rasterizer supports A3, A4, LETTER and LEGAL, with more to come.
Sometimes it might look better to print the pages in landscape mode. Simply check the “Landscape” checkbox and all will be well
“max. Dotsize” specifies the raster width in “pt”. Smaller dot sizes give finer images, but that doesn’t automaticly mean that they will look better. You will have to experiment extremely heavy on this one.
“Color”: The color mode is a simple way to print colored images. The principle of the rasterizer will make strong colors look a bit flat and light colors appear much lighter than they should, so it doesn’t always work out very well.
To ease cutting business, if you want to assemble the image without gaps, “Cropmarks” can be added to the image. “Smart” cropmarks will only be printed inside the image, so that you won’t have cropmarks at the outer egde. If you want even to crop the image at the outer border, use “All” cropmarks.
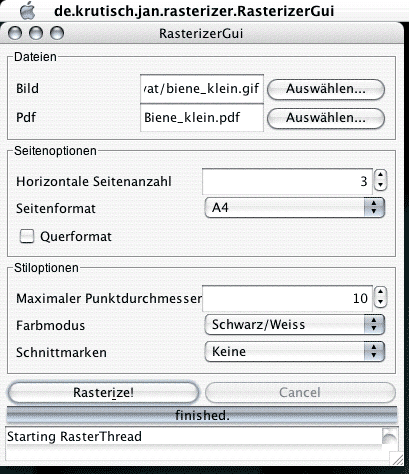
If all options are set, press “Rasterize!” to rasterize the image. If everything works out well, you will see a progressing progress bar and after a few moments, the progress bar will tell you that the rasterisation is “finished”.
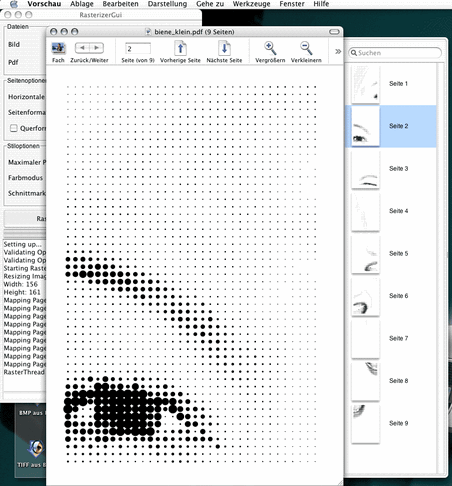
After the rasterizer is finished, leave the program open (probably you’ll rasterize again if the outcome is not as intended) and open the resulting pdf file in a reader (such as Adobe Reader). Take your time to examine the result and the make a printout if you are satisfied. To get some tips and tricks on the assembly of a rasterizer image, take a look at the assembly help.
© Jan Krutisch | Generated by webgen | Design by Andreas Viklund.